Last Updated: September 15, 2026 | Written by 4 Foot Farm Blueprint Editorial Team | 11 Min Read

4 Foot Farm Blueprint Design: How to Plan a Four-Square-Foot Vertical Layout

The 4 Foot Farm Blueprint guide displayed on a laptop, tablet and phone next to printed guide cards and fresh produce

4 foot farm blueprint design is the planning stage of a small vertical farm: deciding where a roughly 2 ft by 2 ft footprint goes, how many tiers rise above it, and which crops sit on each level before you buy a single container.

Get the layout right on paper and the build becomes a weekend job. Get it wrong and a tomato ends up shading your lettuce while the bottom shelf never dries out.

Where something comes from the guide, we say so. Container depths, light needs and tier suggestions are general container-gardening guidance we have added, labelled that way.

See the 4 Foot Farm Blueprint

What Is 4 Foot Farm Blueprint Design?

It is the layout plan for a vertical garden built on about four square feet of floor, drawn before construction starts.

The 4 Foot Farm Blueprint, a short digital gardening guide by Sam McCoy, puts site selection first and vertical planning second, ahead of budgeting and building. A good design answers three questions in that same spirit: how much light the spot really gets, how the growing space stacks upward, and how water, weight and your own hands move through the structure.

What Is the Core Idea Behind a Four-Foot Vertical Layout?

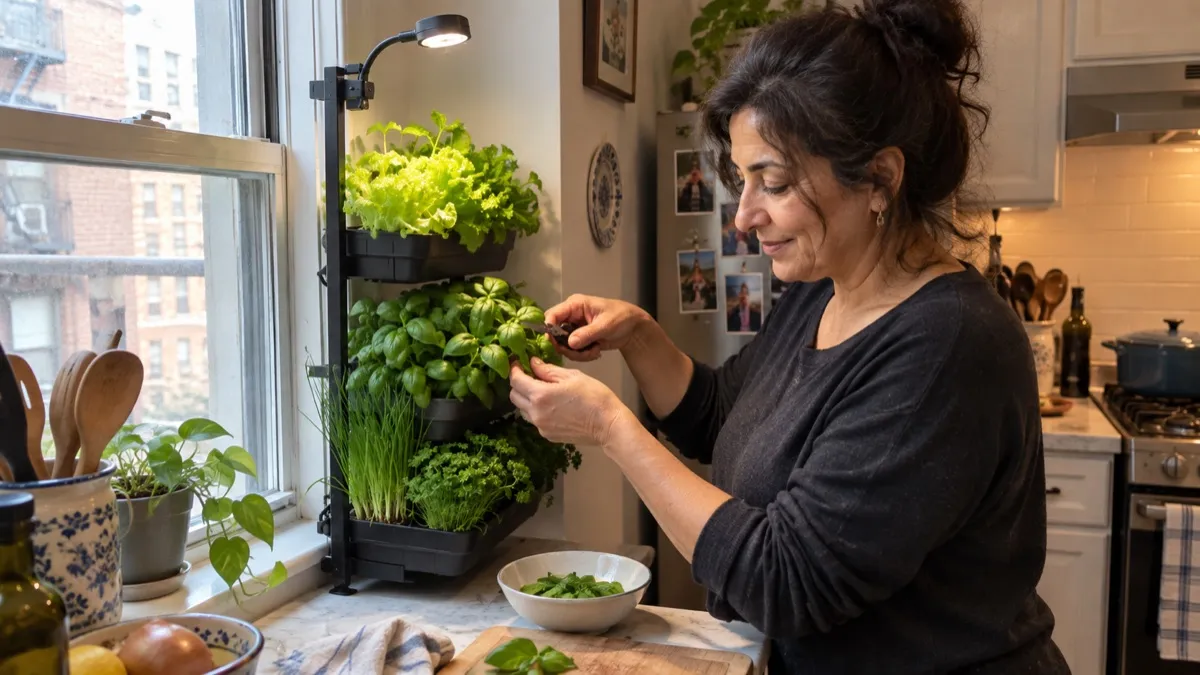
Gardener picking basil from a compact tiered indoor grow stand, a small vertical layout like those planned with the 4 Foot Farm Blueprint

The floor area is fixed and small, so every design decision is really a decision about height: how many levels, how far apart, and what grows on each one.

Our benefits breakdown explains why stacking multiplies the plantable surface. The design question goes one step further. Each extra tier adds growing room, but it also adds shade below it, weight on the floor, and one more level that has to be watered and reached. Past a certain point, another shelf costs you more than it gives.

How Many Tiers Make Sense?

For most first builds, three or four growing levels is a sensible ceiling. That keeps the top within arm's reach, leaves room for leafy crops to catch light, and stays stable without bolting anything to a wall. A thin six-level tower looks impressive in photos and tends to wobble in the first strong wind.

How Do You Read the Light Before Drawing Anything?

Watch the spot for a full day and write down when direct sun lands on it, because light is the one thing no layout can add later.

Check three or four times: early morning, late morning, early afternoon and late afternoon. Note when the sun first hits the footprint, when it leaves, and what casts shade in between. A balcony railing, the floor above, a neighbor's tree or your own building can cut hours off what looks like a sunny corner.

Which Direction Gets the Most Sun?

In the continental United States, a south-facing spot usually gets the most direct sun through the day. West-facing spots get strong, hot afternoon light; east-facing spots get gentler morning sun; north-facing spots get the least. The sun also sits lower in spring and fall than in midsummer, so a spot that is bright in July can be shaded by a railing in April.

How Much Light Do Different Crops Need?

As general gardening guidance, leafy greens and many herbs tolerate less light than fruiting crops. Lettuce, spinach, parsley and chives can manage with a few hours of direct sun, while tomatoes, peppers and strawberries generally want a full day of it to produce well. Your notes tell you which group your spot can support.

The honest limit: the guide's site-selection chapter makes location the first decision, but no book can see your balcony. Your own light log is worth more than any sample layout, including the ones on this page.

Log the sun on your spot before you sketch a single tier

Can a 4 Foot Farm Blueprint design work on a north-facing balcony? Yes, with narrower expectations. A north-facing layout for the 4 Foot Farm Blueprint method is best planned around salad leaves and soft herbs, since fruiting crops rarely get enough direct sun there. If you want tomatoes indoors or in shade, supplemental lighting becomes part of the design.

Which Crops Belong on Which Tier?

Put the tallest and most sun-hungry plants where they cannot cast shade on anything else, and give the lower, shadier positions to greens that cope with less light.

In practice that means the back or north side of the structure holds anything tall, and the sunny front edge stays low. The top tier gets the most sun and wind and dries out fastest, which suits Mediterranean herbs such as thyme, oregano and rosemary far better than thirsty lettuce. Lower tiers stay cooler and catch runoff from above, which lettuce and spinach tend to appreciate.

There is one trade-off to plan around. Fruiting crops want the most light, yet they also need the deepest and heaviest containers, which are safest near the floor. The usual answer is to give a single compact tomato or pepper the sunniest ground-level corner of the footprint, staked upright, beside the tiers rather than underneath them.

What Does a Sample Tier-by-Tier Plan Look Like?

The table below is an editorial example for a stepped or A-frame layout on a sunny spot, built from general container-gardening guidance rather than taken from the guide.

LevelTypical light and moistureSuitable crop typesContainer depth (general range)
Top tierMost sun and wind; dries fastestDrought-tolerant herbs such as thyme, oregano, rosemaryAbout 6–8 inches
Middle tierGood light; moderate moistureBasil, parsley, strawberries, compact bush beansAbout 6–10 inches
Lower tierPartial shade; receives runoffLettuce, spinach, arugula, chivesAbout 6–8 inches
Ground cornerFull sun if nothing stands in frontOne compact tomato or pepper, stakedOften 12 inches or more

The honest limit: we have not seen a crop-by-tier chart in the verified contents of the guide, so do not buy the 4 Foot Farm Blueprint expecting this exact table. Use it as a starting sketch and adjust it to your light log and to what your household actually eats.
How Deep Should Containers Be, and How Far Apart?

Match container depth to root depth: shallow for salad crops and most herbs, noticeably deeper for tomatoes and peppers.

What Depths Suit Common Crop Types?

General container-gardening guidance runs roughly like this, and it varies with variety:

  • Lettuce, spinach and other salad leaves: around 6 inches of growing medium is usually enough.
  • Most culinary herbs and strawberries: about 6 to 8 inches.
  • Bush beans, radishes and short carrots: roughly 8 to 12 inches.
  • Compact tomatoes and peppers: 12 inches or more, and a wider container helps as much as a deeper one.

Depth drives weight, so this list is also a map of where the heavy containers must go. Shallow trays belong high up. Deep pots belong low.

How Much Vertical Gap Should Each Tier Have?

Leave enough space between levels for the mature plant plus a few inches of air above it. A lettuce tier needs far less headroom than a tier of basil that will be cut back regularly, and a tier squeezed too tight shades itself and traps humid air.

Why Does Airflow Belong in the Design?

Crowded, still air invites mildew and hides pests. Keep the structure a few inches off the wall and plan so you can see the underside of leaves on every tier.

How tall should a 4 Foot Farm Blueprint layout be? As tall as you can comfortably reach and your spot can hold steady, which for most people means the top tier sits somewhere around chest to head height. Height beyond that adds wind exposure and awkward harvesting. For a 4 Foot Farm Blueprint build on a rented balcony, also check what your lease allows above the railing line.

How Should Water Move Through a Vertical Structure?

Plan the water path from top tier to catch tray

Design water to flow from the top down, with drainage at every level and a catch tray at the base, so gravity does the work instead of making a mess.

Every container needs drainage holes. Without them, roots sit in water and rot, and a vertical setup hides the problem because you rarely see the bottom of an upper pot. With them, water you pour at the top passes through the growing medium and drips onward, so the lower tiers get a share of every watering.

That is useful, and it is also why lower tiers can stay wet for longer. Placing drought-tolerant herbs high and moisture-loving greens low works with that pattern rather than against it.

What About the Neighbors Below?

On an apartment balcony, runoff that clears your catch tray lands on someone else's railing or patio furniture. A continuous saucer or tray under the whole footprint is part of the design, not an accessory. Water slowly and you will see how much comes through before it overflows.

Is Your Spot Strong Enough, and Can You Reach Every Plant?

Wet growing medium is far heavier than it looks in the bag, so plan the load, the wind and your reach before the structure goes up.

How Do You Keep a Balcony Setup Safe?

  • Ask about limits: your landlord, building manager or HOA can tell you whether balcony loads or planters are restricted. Do that before building, not after.
  • Keep mass low: deep, heavy containers sit on the floor; lighter trays go on the upper tiers. A low center of gravity is what stops tipping.
  • Plan for wind: balconies on higher floors see stronger gusts. A wider base, a structure set against a wall, or a secure tie-back makes a tall design far steadier.
  • Nothing over the edge: never hang containers on the outside of a railing where a fall could hurt someone below.

How Do You Design for Easy Harvesting?

Every plant should be reachable from where you stand. A 2 ft deep footprint against a wall suits most adults, since the back row stays within arm's length. Locking casters let you turn a tower toward the sun or toward you.

The honest limit: we cannot tell you what your balcony will safely hold, and neither can a gardening guide. Structural load is a question for the building owner. If there is any doubt, keep the design smaller and lower.

What Is the Step-by-Step Design Process, From Sketch to Plan?

Work from the constraints inward: space and light first, crops second, structure third, and only then the shopping list.

  1. Measure the footprint and the clearance. Record the floor area, the height to any overhang or ceiling, and the railing height.
  2. Log the light for a full day. Note hours of direct sun and what shades the spot, and repeat later in the season if you can.
  3. List the crops you would really eat. Sort them into two groups, sun-hungry and shade-tolerant, and note each one's rough mature height.
  4. Pick a structure type. Use the comparison table below to match a shape to your light direction and space.
  5. Sketch a side view. Draw each tier with its height and the gap above it. Graph paper at one square per inch works well.
  6. Assign crops and container depths to each tier. Tall and sun-loving at the back or ground corner, greens low, dry-loving herbs high.
  7. Draw the water path. Mark drainage, the direction of runoff and the catch tray.
  8. Check weight, wind and reach. Move heavy pots down, widen the base or remove a tier if anything looks shaky or awkward.
  9. Write the final plan. One page listing structure, containers, medium and plants, ready for the build.

Step nine is where design hands over to construction, and our guide to building a four-foot farm picks up from there with materials and assembly.

Which Vertical Design Suits Your Space Best?

The right shape depends mostly on which way your light comes from and how much floor you can give up.

The guide's appendices cover garden towers, bottle gardens and container construction. The four general layouts below are common small-space shapes, compared on design grounds only.

DesignFootprint useLight exposureBuild difficultyBest for
A-frame / ladderUses the full footprint; open underneathStrong on the sun-facing side, weaker on the backModerateSunny patios with room to stand at the front
Stacked towerSmallest floor contact, tallest profileLight on several sides; lower pockets can be shadedEasy to moderateOpen spots where you can turn or walk around it
Wall or rail pocketAlmost no floor spaceOne face only, set by the wall's directionEasyNarrow balconies with a bright wall; herbs and greens
Tiered step-back shelfFull footprint; deep pots at the baseGood when tiers step back away from the sunModerateMixed crops, including one fruiting plant

For themed combinations by location, such as a windowsill herb layout or a rooftop salad setup, see our four-foot farm ideas by space and crop. If the farm is going indoors, lighting changes the design so much that it gets its own page on setting up a four-foot farm in your house.

Should you finish the design before buying any materials? Yes. The 4 Foot Farm Blueprint places vertical planning ahead of budgeting for a reason: containers bought before the layout exists tend to be the wrong depth, too many or too heavy for the tier they end up on. A one-page plan costs nothing and prevents most of those purchases.

What Design Mistakes Do Beginners Make Most Often?

Most layout failures come from copying a nice photo instead of designing for the actual spot, light and household.

  • Designing from a picture: a layout built for a sunny Texas patio will not behave the same on a shaded Seattle balcony.
  • Tall crops on the sunny side: one staked tomato in the wrong corner can shade half the structure by midsummer.
  • Shallow pots for fruiting crops: the plant survives but stays small, and the container dries out between waterings.
  • No drainage path: waterlogged lower tiers and a puddle on the floor below.
  • Tiers packed too close: shaded, humid levels where mildew and pests settle in quietly.
  • A top-heavy structure: heavy containers high up and a narrow base, in a windy spot.
  • Too many crops at once: ten varieties in four square feet leaves each one too little room to be worth it.
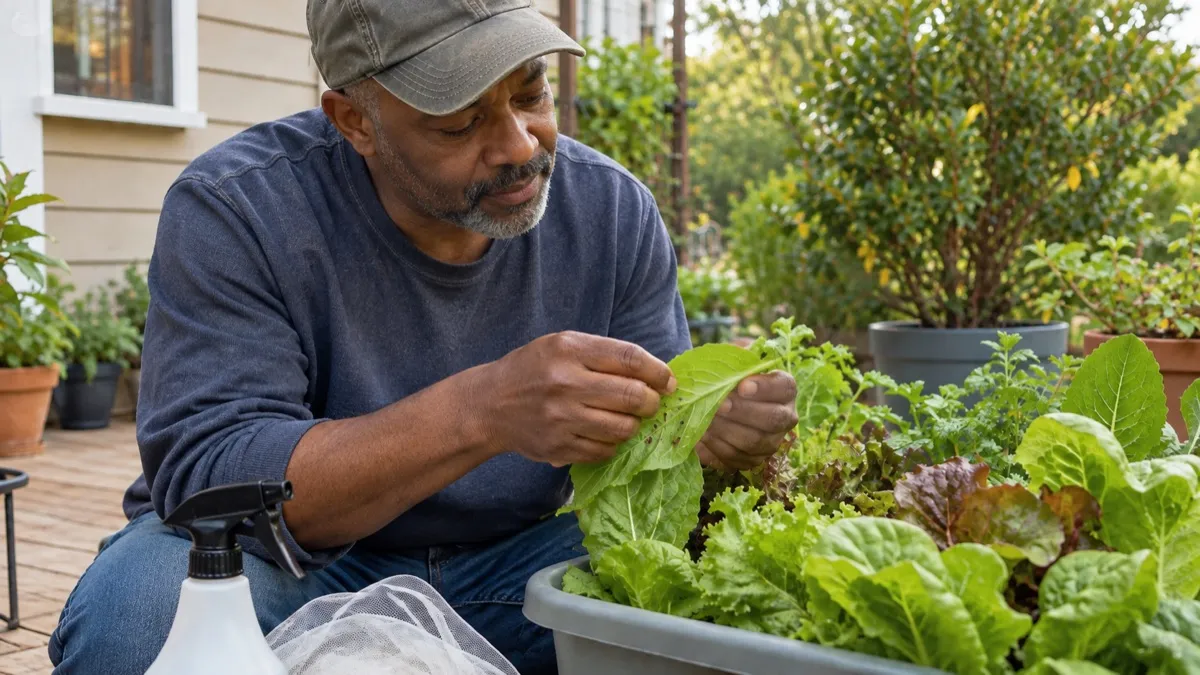
Gardener examining a chewed lettuce leaf in a raised planter, a problem that crowded 4 Foot Farm Blueprint layouts can hide

How Do Design Choices Affect What You Spend?

The layout sets the budget, because the number of tiers, the depth of each container and the complexity of the frame decide what you have to buy.

That is why the verified chapter order in the 4 Foot Farm Blueprint puts budgeting after vertical planning. A few design choices move costs more than anything else:

  • Fewer, deeper containers versus many small ones: deep pots need more growing medium per container, while many small ones need more pieces and more frequent watering.
  • Repurposed versus bought containers: the bottle-garden and container-construction appendices point toward reusing materials, which suits shallow crops well.
  • Frame complexity: a wall pocket system needs almost no frame; an A-frame or step-back shelf needs lumber and fixings.
  • Indoor light: a design that depends on a grow light carries an ongoing running cost that an outdoor sunny spot does not.

If you are still deciding whether the guide itself is worth buying, our full 4 Foot Farm Blueprint review covers its strengths and weaknesses, and the chapter-by-chapter PDF overview shows what the vertical-planning and budgeting sections sit alongside.

The honest limit: a well-planned 4 foot farm blueprint design reduces wasted spending, but it does not guarantee a harvest. Climate, season, light and regular care still decide how much you pick.

Can you change a 4 Foot Farm Blueprint design after the first season? You should expect to. A first-season layout shows you where the light really falls and which tier stays too wet or too dry. Swapping crops between tiers or removing a shaded level is normal, and building the 4 Foot Farm Blueprint way with separate containers keeps those changes easy.

Which Sources Back Up This Page?

Facts about the guide on this page come from the independent records below. The design advice on light, depth, water and weight is general small-space gardening practice; for climate-specific timing, use the USDA Plant Hardiness Zone Map and your state's cooperative extension service.

  1. Internet Archive / Open Library catalogue record for The 4 Foot Farm Blueprint, the source for the chapter order (site selection, vertical planning, budgeting, growing medium, harvesting) and the appendices on garden towers, bottle gardens and container construction.
  2. Goodreads book listing for 4 Foot Farm Blueprint by Sam McCoy, confirming the author and the vertical-gardening framing of the method.
  3. Google Books record for 4 Foot Farm Blueprint, independent confirmation of title and author.

What Else Do People Ask About 4 Foot Farm Blueprint Design?

It can be, if the design respects weight, wind and your building's rules. Wet growing medium is heavy, so keep deep containers low, use a wide base or a secure tie-back in windy spots, and never hang pots on the outside of a railing. Before building a 4 Foot Farm Blueprint setup on a balcony, ask your landlord, building manager or HOA about load limits and planter rules.

None is best everywhere; the right choice follows your light and floor space. A stacked tower suits open spots with light on several sides, a wall or rail pocket system suits narrow balconies with one bright wall, and an A-frame or step-back shelf suits sunny patios where you want one deep container for a fruiting crop. The 4 Foot Farm Blueprint's appendices cover garden towers, bottle gardens and container construction if you want to build your own.

General container-gardening guidance puts salad leaves at around 6 inches of growing medium, most herbs and strawberries at about 6 to 8 inches, and compact tomatoes or peppers at 12 inches or more. Deeper containers are also heavier, so a 4 Foot Farm Blueprint design should keep shallow trays on the upper tiers and deep pots near the floor. Exact needs vary by variety.

The verified contents of the 4 Foot Farm Blueprint include a vertical-planning chapter plus appendices on garden towers, bottle gardens and container construction, but we could not confirm a specific ready-made layout diagram. Treat the guide as the framework and draw your own plan around your measured space, your light and the crops you eat. Sample tier tables on independent sites, including ours, are general guidance rather than content from the guide.

It depends on what you plan to grow. As general gardening guidance, salad leaves and many herbs cope with a few hours of direct sun, while tomatoes, peppers and strawberries generally need a full day of it to produce well. The 4 Foot Farm Blueprint makes site selection the first chapter for this reason, so log the direct sun on your spot for a full day before you choose crops or a structure.

The top tier gets the most sun and wind and dries out fastest, so drought-tolerant herbs such as thyme, oregano and rosemary usually suit it best. Moisture-loving greens like lettuce and spinach do better on lower tiers, where runoff keeps them damper. When you plan a 4 Foot Farm Blueprint layout, keep anything tall on the back or north side so it does not shade the rest of the structure.

About This Page

Written by: 4 Foot Farm Blueprint Editorial Team

This design guide was written by the 4 Foot Farm Blueprint Editorial Team. Facts about the guide come from its catalogued table of contents and independent third-party records; the layout, light, container-depth and safety advice is general small-space gardening practice, labelled as our own guidance rather than attributed to the guide. We are an independent affiliate site, not the vendor. This page contains affiliate links — if you buy through them we earn a commission at no additional cost to you. Last updated September 15, 2026.